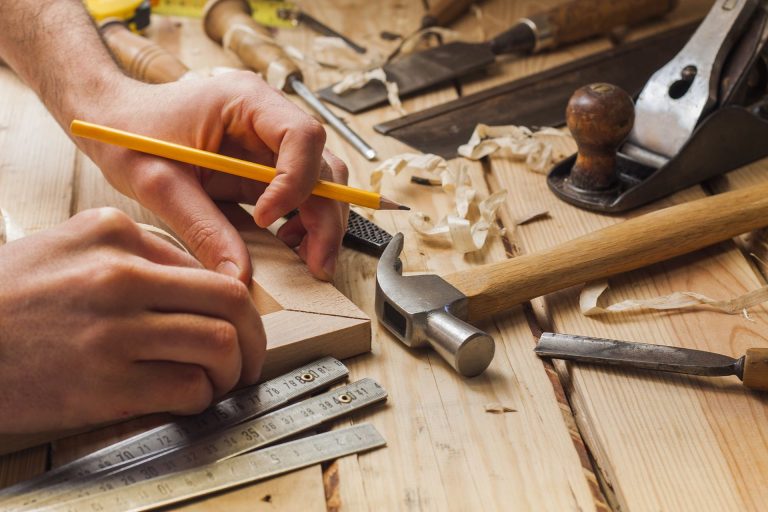
3-time Oscar Winner Daniel Day Lewis (now retired from acting, yes you read that right) had a very old hobby to help him relax when he was in the midst of every demanding shoot. That hobby was carpentry! You can bet all that carving came in handy when he was cast as Bill ‘the Butcher’ Cutting in Gangs of New York.
If you belong to the same league as Daniel (okay, let’s take it down a notch), if you have the same hobby as Daniel or even if you are remotely interested in carpentry for practical purposes, this article is going to make your life easier.
1-Plugging Pocket Holes
When you are building any sort of wooden project, you have to deal with pocket holes. And over time, the art of filling pocket holes has evolved. The following are some methods which have stood the test of time:
a-Wood putty aka Wood filler
You fill the hole, you top it off and you let it dry. After it dries, you would see that there are still some small holes visible. You can give them a once over with the wood filler again and you should be sorted. This method is pretty straight forward and is a less time-consuming approach.
b-Bondo
This method takes a little time to mix and then apply the paste in the pocket holes. You leave it to dry and then you wait for the results. You would notice that this method works great but for the little extra time taken to dry and the color difference between the bondo filling and the wooden board.
c- 3/8-inch dowel pins
These dowel pins can be bought anywhere across the country or you can buy it online. Now, these need to be installed with care because they fit rather snugly. You need to cut them flush with a flush cut trim saw. You can use wooden putty if there are still holes visible.
2-Level Furniture using hole plugs
Even if you are the most adept at carpentry, there is still a good chance that your furniture will not stand (pun intended) to tell the tale. This is where hole plugs will make a world of difference: they will help level any wobbly piece of furniture and in the process, give you the peace of mind you deserve. All that you need to do is make a small provision in the bottom of the furniture so that the hole plugs can fit in nicely. You might even have some old furniture that is absolutely gorgeous but you would be on the verge of throwing it away because of the creaking noise it makes. Hole plugs help you there as well: they help the furniture be glided on the floor: no more scratches, no more noise.
3-Spring Clamps and Rubber Bands
Spring clamps are usually bought by carpentry enthusiasts and left to fend for themselves collecting sawdust in a corner of the workshop. This can change with a few rubber bands: buy some thick ones, insert them in the holes near the handles of the spring clamp, extend the band to the tip of the handles and leave them be. This keeps the piece at the top of your wooden project intact without it swiveling.
4-Make some right-angle clamp jigs
This piece of wood (preferably plywood or mdf) has to be as straight as possible. Set the miter gauge and make a 45-degree cut and flip it over and do the same. Remove the edges. You can use the push block to prevent the wooden block from flying up as you are cutting. For it to be a right-angled jig, you need to now measure out and make 3 squares, one at the right-angled corner and the other two along the sides equidistant from the one at the corner. Draw the diagonals. Use a 1 3/8-inch drill bit to drill 3 holes at the meeting point of the diagonals. (Okay, that sounds like high school geometry but you got to do what you got to do) Make 8 to 10 of these and they will come in handy.
5-Using Salt to Eliminate Shift
Using wooden glue has its own set of disadvantages: the blocks of wood seem to shift when you add layers. When you glue two pieces of wood together, they shift a little bit. However, when you clamp together 3 pieces with wooden glue, the shift is much more obvious. This shifting can be completely eliminated by sprinkling some salt on the glue before sticking the blocks together. With plywood, it’s even worse: even with perfectly cut pieces, you would be forced to sand later because of the movement. Adding a little bit of salt prevents this shifting from happening. Use a clamp to hold the pieces together and you would see the magic of salt working.


0 Comments