Cars are exposed to all sorts of pollutants and contaminants that compromise paint quality overtime. We are not talking about simple dirt and dust that can be removed easily by washing the car but rather pollutants and contaminants that cannot be removed even by thorough washing.
If you have noticed that your car has deep-seated contaminants that even washing cannot remove, the best solution is to apply a clay bar – a specially formulated resin mixture to clean deep-seated dirts, dusts & debris. A clay bar can be either synthetic or natural but clay bars used in the automotive industry are mostly made of synthetic ingredients.
Using a clay bar properly can drastically improve the quality of results you will get. As such you should take assistance from a credible auto body shop in Reno if you’re from Nevada, to help you clay bar your car properly.
However, if you want to do it yourself, here are some tips on how to use a clay bar the-right-way to get the best results.
Step 1: Start by washing your car
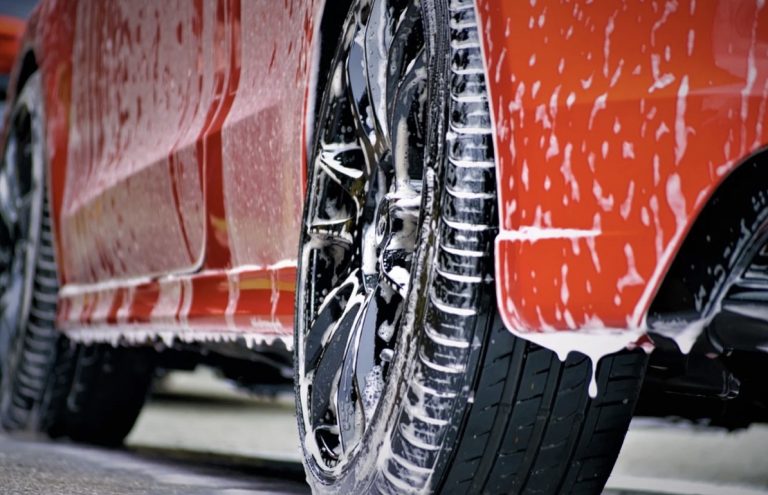
Before you apply the clay, first you need to wash your car thoroughly and allow it to dry. Washing is important because it helps to remove dusts that may prevent the clay from treating your car paint properly as it should. The clay will easily adhere to the car surface if it is free of dirt, dust, and debris.
Step 2: Gather all necessary supplies
After cleaning your car, the next process is gathering all the necessary supplies needed to clay your car. Most clay treatments are sold as a kit and are available in two options: clay mitt and handheld clay bar. Each one has its own pros and cons. So, choose one that suits your personal preference.
Supplies you need to have to make the claying process a success includes:
- One bottle of clay bar lubricant spray.
- Clay mitt or clay bar.
- One plastic sandwich bag.
- Three clean microfiber towels.
Step 3: Subdivide your car into sections
To get quality and uniform results, you need to apply clay in an organized and systematic manner. Subdividing your car into smaller sections will ensure that you don’t miss claying some parts of the car. It is recommended that you start from the upper side of the car (the roof and boot) then end with the lower parts (door and bonnet). This will help prevent scratching and damaging the clayed parts with dirt and contaminants.
Step 4: Spray the recommended lubricant
Spray a considerable amount of the recommended lubricant on the section that you will be working on. Please don’t apply lubrication to the entire car as it will dry up soon and will have to re-apply. So, only apply when you are working on that specific area.
Step 5: Clay the car
Once the working area is well lubricated, gently apply the clay mitt or clay bar on the surface. Glide the clay back and forth until the clay holds firmly on the paint surface. Apply lubrication if the clay is too firm to make slipping easy. Repeat the same process to all sections of the car.
Step 6: Inspect the car
Once you are done claying, inspect the work using a clean plastic sandwich bag. This process is important because it helps you know if the surface is flawless and free of debris and dirt. To make your work easy, inspect each section before moving to the next.
Step 7: Rinse the car with clean water
Once you complete the inspection process and you are satisfied that the car is free of debris and the clay mitt or bar clay is applied to perfection, the final process is cleaning the car with clean water. Cleaning will help remove loose particles, dirt, debris, and soap residues from the treatment. Once you are done, use a microfiber towel to dry the car.
Conclusion
One of the best ways to remove deep-seated contaminants from your car surface is by using a clay mitt or clay bar. Most car manufacturers recommend using bar clay at least once a year to treat your car paint. The entire process is little time consuming but the result is magnificent.


0 Comments