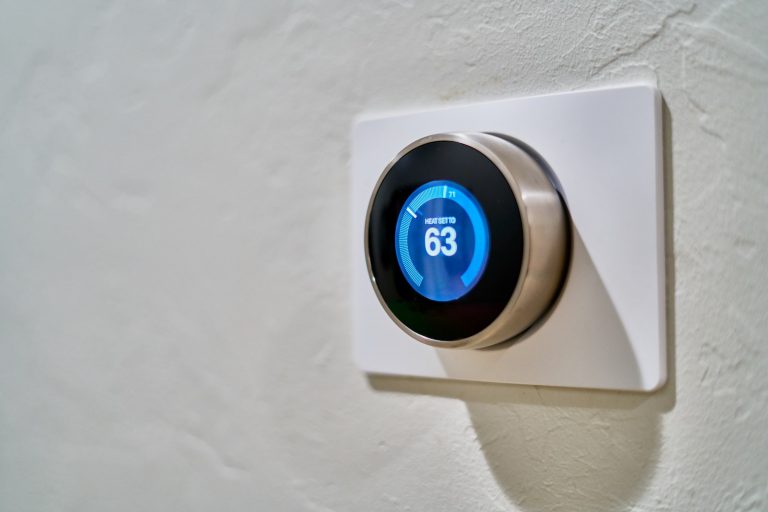
As a homeowner, you may have considered installing a Nest thermostat to make your home more energy-efficient. However, there may come a time when you need to remove it, whether it’s because you’re moving or upgrading to a newer model. Whatever the reason, it’s important to know how to remove the Nest thermostat properly to avoid any damage to your HVAC system or the thermostat itself. In this article, I will provide you with a step-by-step guide on how to remove a Nest thermostat with ease.
Introduction to Nest Thermostat
The Nest thermostat is a smart thermostat that learns your schedule and preferred temperature settings, and automatically adjusts to save energy while keeping you comfortable. It connects to your home’s Wi-Fi network, allowing you to control it remotely from your smartphone or tablet. The Nest thermostat is easy to install and can be a great addition to any home.
Reasons for Removing Nest Thermostat
There are several reasons why you may need to remove your Nest thermostat. Perhaps you’re moving to a new home and want to take it with you. Or maybe you’re upgrading to a newer model with more advanced features. Whatever the reason, it’s important to remove the Nest thermostat properly to avoid any damage to your HVAC system or the thermostat itself.
Preparation Before Removing Nest Thermostat
Before removing your Nest thermostat, there are a few things you need to do to prepare. First, turn off the power to your HVAC system at the circuit breaker. This will prevent any electricity from flowing through the wires while you’re working on the thermostat. Next, remove the Nest thermostat from its wall plate by gently pulling it straight out. Be careful not to twist or bend the wires as you do this.
Once the Nest thermostat is removed from the wall, you can disconnect the wires from the terminals. Use a small screwdriver to loosen the screws that hold the wires in place, and then gently pull the wires out of the terminals. Be sure to label each wire with the letter or number that corresponds to the terminal it was connected to. This will make it easier to reconnect the wires when you’re ready to install a new thermostat.
Step-by-Step Guide on How to Remove Nest Thermostat
Now that you’ve prepared your HVAC system and disconnected the wires from your Nest thermostat, you’re ready to remove it from the wall. Here’s a step-by-step guide to help you through the process:
- Use a flathead screwdriver to remove the mounting screws that hold the wall plate in place. Be sure to keep the screws in a safe place so you don’t lose them.
- Gently pull the wall plate away from the wall, being careful not to damage the wires or the wall.
- If the wall plate is stuck to the wall, use a hairdryer to warm the adhesive and soften it. This will make it easier to remove the wall plate without damaging the wall.
Troubleshooting Common Issues When Removing Nest Thermostat
While removing your Nest thermostat may seem like a simple task, there are a few common issues that can arise. Here are some troubleshooting tips to help you avoid these issues:
- If the wall plate is stuck to the wall, use a hairdryer to warm the adhesive and soften it. This will make it easier to remove the wall plate without damaging the wall.
- If the wires are too short to reach the new thermostat, you may need to splice in additional wire. Be sure to use wire nuts and electrical tape to secure the connections.
- If you’re having difficulty removing the Nest thermostat from the wall plate, be sure to check for any hidden screws or clips that may be holding it in place.
Replacing Nest Thermostat with a New One
Now that you’ve successfully removed your Nest thermostat, you may be wondering how to install a new one. The process is similar to removing the old one, but there are a few additional steps you’ll need to take.
- Choose a new thermostat that is compatible with your HVAC system and wiring. Be sure to read the manufacturer’s instructions carefully before installation.
- Connect the wires to the new thermostat in the same order that they were connected to the old one. Use the labels you made earlier to ensure that each wire is connected to the correct terminal.
- Mount the new thermostat to the wall plate using the screws provided by the manufacturer.
- Turn the power back on to your HVAC system at the circuit breaker, and test the new thermostat to ensure that it’s working properly.
Conclusion and Final Tips
Removing a Nest thermostat may seem like a daunting task, but with the right preparation and tools, it can be done easily and safely. Remember to turn off the power to your HVAC system at the circuit breaker, label each wire before disconnecting it, and use a hairdryer to soften the adhesive if the wall plate is stuck to the wall. If you’re having difficulty removing the Nest thermostat, be sure to check for any hidden screws or clips that may be holding it in place. With these tips in mind, you’ll be able to remove your Nest thermostat with ease and upgrade to a newer model or take it with you to your new home.
If you have any questions or concerns about removing your Nest thermostat, feel free to reach out to a professional HVAC technician for assistance. They can provide you with expert advice and ensure that your HVAC system is not damaged during the removal process.


0 Comments