If you’re looking to bring elegance, warmth, or modern flair into your home without cutting too heavily into your bank account, then wall paneling might just be the way forward. This is a great DIY project that has the power to transform any room, adding visual interest, which is also likely to increase your home’s value and provide additional insulation. So, if you’re ready to embark on your wall paneling journey, then discover some of the top tips below.
Why Wall Paneling?

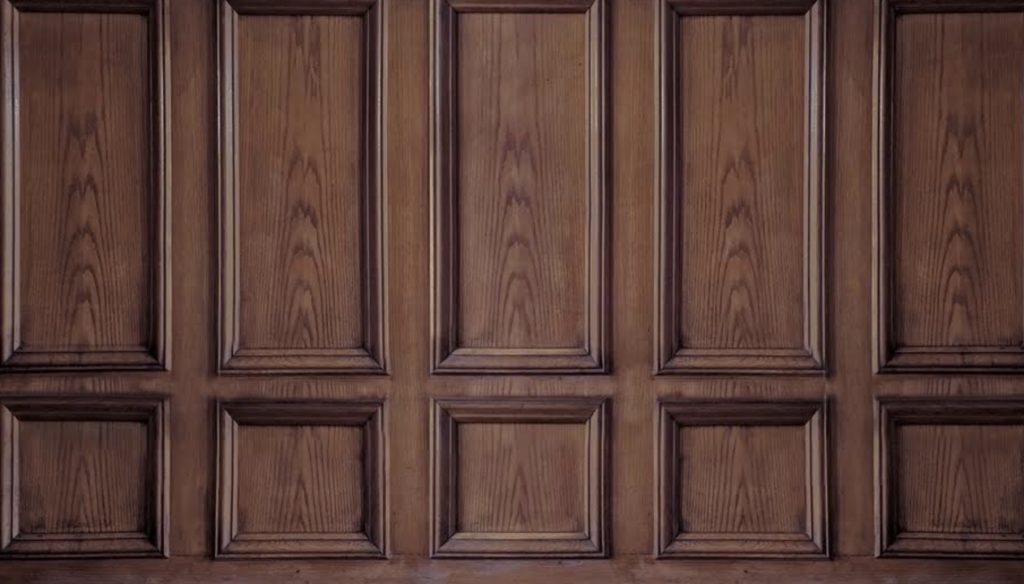
Wall paneling has been a popular choice in interior design for hundreds of years, dating all the way back to the ornate wood panels of the Renaissance and Victorian eras. Since then, it has been adapted to suit any number of styles, including rustic and contemporary looks. Listed below are just some of the reasons why wall paneling is a great DIY project:
- Aesthetic appeal – It adds texture, depth, and character to plain walls.
- Versatility – It’s available in a number of materials, such as natural wood, MDF, PVC, and metal.
- Insulation – It provides an additional layer of insulation, which results in a more energy-efficient home.
- Durability – It protects walls from wear and tear.
- Value addition – It enhances the overall value of your home.
Getting Started
Before getting started with your wall paneling project, you need to have a clear plan in place. Detailed below is a step-by-step guide to get you started:
Choose Your Style
First and foremost, you need to decide which style of paneling would best suit your home. Some of the most popular options include the following:
- Shiplap – Overlapping horizontal boards that give a rustic farmhouse lock.
- Beadboard – Narrow vertical planks separated by a small ridge, which are perfect for cottage-style homes.
- Wainscoting – Paneling that covers the lower third of the wall, often used in dining rooms and hallways.
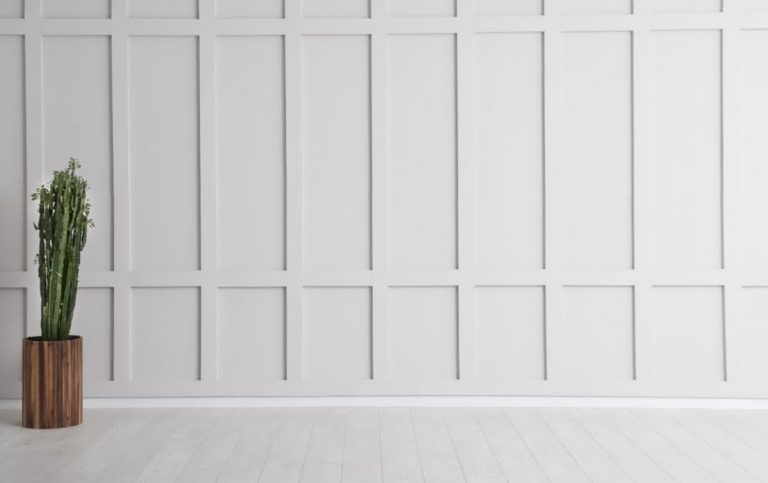
- Board and batten – Wide boards with narrow battens covering the seams, resulting in a classic and clean look.
- 3D panels – Modern panels crafted from materials like PVC or MDF that boast a textured, three-dimensional effect.
Measure Your Space
For a project to be a success, you need accurate measurements. This means measuring the height and width of each wall you need to panel and paying close attention to doors, windows, and any other obstacles.
Select Your Materials
Once you decide on the perfect style for you, you then need to select the right materials for the job. Natural wood and MDF are two of the most popular choices since they’re easy to use and widely available. Despite this, PVC and pre-fabricated panels are two of the most budget-friendly options.
Gather Your Tools
Before you get started, you also need to make sure that you have all the necessary tools. These include the following:
- Measuring tape
- Level
- Saw (hand saw, circular saw, or miter saw)
- Nail gun or hammer and nails
- Adhesive (construction adhesive or paneling adhesive)
- Caulk and caulking gun
- Sandpaper
- Paint and paintbrushes or rollers
Step-by-Step Installation
Installing wall paneling is a relatively straightforward process that requires the following steps:
- Prep the walls – This involves removing any existing baseboards or molding and cleaning the walls thoroughly. With uneven surfaces, you might also use a levelling compound.
- Cut the panels – Your panels need to be cut to size to suit your measurements.
- Install the panels – Apply adhesive to the back of each panel and press them firmly against the wall before securing them with nails.
- Finishing touches – Wood filler, sanding, etc.
- Paint or stain – Color, primer, stain, etc.
Ultimately, wall paneling has the power to transform living spaces.


0 Comments