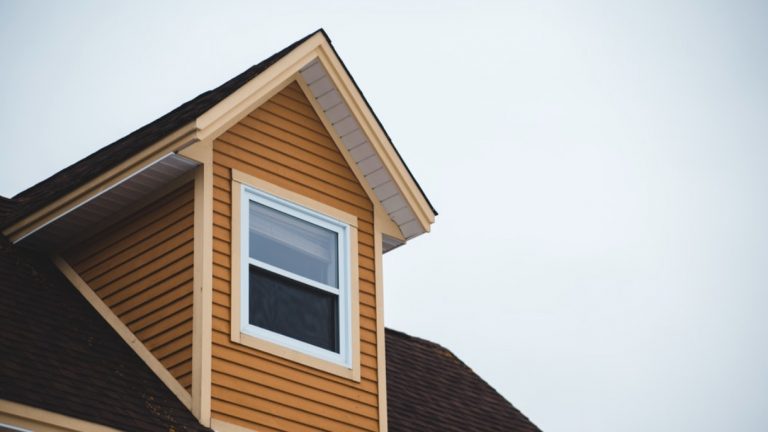
Hardie board, a brand of fiber-cement siding, has become popular for its durability and aesthetic appeal. Ideal for those looking to improve their home’s exterior, a Hardie board can resist damage from moisture, fire, and insects and mimic the look of traditional wood siding.
If you’re considering installing Hardie board, following a systematic approach will guarantee a successful project. This guide details the necessary tools, preparation, and installation techniques to make your home renovation a smoother process.
Prepare Your Workspace and Gather Tools
Before starting any home improvement project, you should prepare your workspace, and a Hardie board installation is no exception. Gather a circular saw with a diamond blade, measuring tape, level, chalk line, a pry bar, and a nail gun or hammer. Having these tools on hand will simplify the installation process and avoid unnecessary interruptions.
Prepare your workspace so that the area is clean and free of obstacles. Lay down drop cloths to protect your landscaping and home’s foundation while working. Set up a cutting station, preferably outdoors, to reduce dust and noise inside the home. Organizing your tools and materials will save time and make the installation process more efficient. Be ready before you start and create a safer working environment.
Measure and Cut the Hardie Board
A successful installation starts with measuring and cutting the Hardie board correctly. Measure the height and width of the areas where the siding will be applied so that you account for windows, doors, and other architectural features. As you make your cuts, be sure to follow the manufacturer’s recommendations on blade types to minimize errors and ensure clean edges.
For precise cuts, you may use specific cutting tools designed for fiber-cement materials. If you need to create intricate shapes or angles, use some cutting Hardie board tips for a successful cut. Remember to sand down any rough edges to improve the finish and prevent splinters or uneven surfaces. Take your time during this stage so that each piece fits seamlessly together when installed.
Install Hardie Board Panels
When it’s time for the actual installation of Hardie board panels, approach the task methodically. Start from the bottom of your home’s exterior and work your way up. Position the first board level with the ground and secure it using corrosion-resistant nails or screws, placing fasteners according to the manufacturer’s guidelines.
As you continue to install additional boards, leave a small gap for expansion, approximately one-eighth of an inch, between each piece. Pay close attention to overlapping boards to prevent leaks and secure structural integrity. Utilize a level at each step to maintain consistency and an even appearance across the entire installation.
Finishing Touches
With the board installed, the attention must turn to the finishing touches, which involve sealing and painting the Hardie board. Though Hardie board is pre-finished, homeowners may opt to apply additional paint or sealant for extra protection and customization. Use high-quality, 100% acrylic paint specifically designed for cement-based materials. This type of paint provides the durability needed to withstand various weather conditions. Apply at least two coats for optimal adherence and coverage. Paint any exposed edges of the board; these areas are susceptible to moisture damage.
Sealing joints and seams is just as important. Choose a high-quality exterior-grade caulk to prevent moisture intrusion and improve the longevity of your Hardie board siding. Completing these final steps will make your home look fantastic and secure.
Maintenance Tips for Hardie Board
The process of a Hardie board installation doesn’t end here: you should constantly care for it. Maintenance mostly involves periodic inspections and cleaning to keep it looking brand new. Commonly, homeowners should wash the siding at least once a year. A gentle pressure washer or a garden hose with a scrub brush can remove dirt, mold, and mildew buildup without harming the board.
Inspect seams and caulking annually; reapplication may be necessary to maintain a watertight seal. Keep an eye on these details so that your Hardie board continues to perform beautifully year after year.
The Benefits of Hardie Board
Why is a Hardie board a preferred choice among many people? Made from a blend of cement, sand, and cellulose fibers, Hardie Board offers more resilience compared to standard vinyl or wood siding. It can withstand harsh weather elements, such as heavy rain, high winds, and extreme temperatures.
Houses clad in Hardie Board tend to maintain their appearance and structural integrity longer than those with other siding materials. This siding comes in various colors and textures, allowing you to choose a design that complements your home’s architectural style. These features make Hardie board a worthy investment for homeowners looking to improve their property’s value and aesthetic allure.
With the right approach and preparation, you can install a Hardie board and achieve professional results. Following this guideline helps you navigate each stage smoothly. Each decision in the process impacts both functionality and aesthetic appeal. Just take your time and make sure that all steps are completed carefully.


0 Comments